How to Install Recessed Exterior LED Wall Lights: A Step-by-Step Guide
Installing recessed exterior LED wall lights can transform your outdoor space, enhancing both its aesthetic appeal and functionality. This guide will take you through the process, ensuring your installation is smooth and successful.
Tools and Materials You Will Need
Essential Tools
- Drill and drill bits
- Measuring tape
- Screwdriver
- Wire strippers
- Hole saw
- Voltage tester
Required Materials
- Recessed exterior LED wall lights
- Electrical wires
- Junction box
- Wire nuts
- Weatherproof sealant
Planning the Installation
Choose the Right Location
Select locations that will benefit from enhanced lighting. Common areas include pathways, patios, and entryways. Ensure the spots chosen are free from obstructions and can safely house electrical wiring.
Measure and Mark
Use a measuring tape to mark the exact spots for the lights. Ensure the marks are evenly spaced for a symmetrical look.
Preparing the Installation Area
Turn Off Power
Safety first. Turn off the power supply to the area where you’ll be working. Use a voltage tester to confirm there’s no live current.
Cut the Holes
Using a hole saw, cut holes at the marked locations. Ensure the holes are slightly larger than the light fixtures for easy installation.
Wiring the Lights
Run the Electrical Wires
Run the electrical wires from the power source to each of the holes. If necessary, use a junction box to manage the wiring connections.
Connect the Wires
Strip the ends of the wires and connect them to the light fixtures. Typically, this involves connecting the black wire to the live terminal, the white wire to the neutral terminal, and the green or bare wire to the ground terminal. Secure the connections with wire nuts.
Test the Connections
Before securing the fixtures, turn the power back on and test the lights to ensure they are working properly. Once confirmed, turn the power off again to complete the installation.
Installing the Light Fixtures
Insert the Fixtures
Carefully insert each light fixture into the prepared holes. Ensure they fit snugly and are flush with the wall surface.
Secure the Fixtures
Use screws or mounting brackets provided with the fixtures to secure them in place. Make sure they are firmly attached and won’t move or tilt.
Seal the Edges
Apply weatherproof sealant around the edges of each fixture to protect against moisture and weather elements.
Final Steps
Restore Power
Turn the power back on and test all the lights to ensure they are functioning correctly. Adjust any fixtures if necessary.
Enjoy Your New Lighting
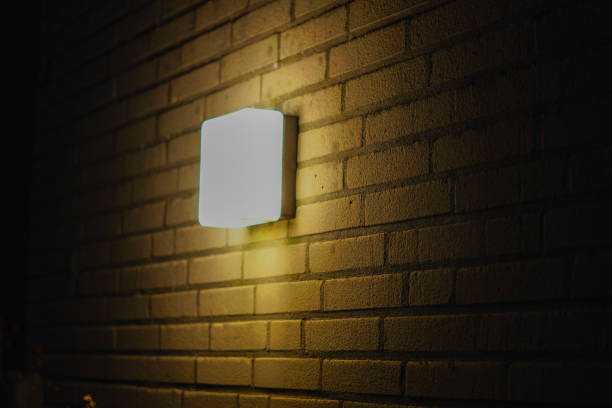
Step back and admire your work. The newly installed recessed exterior LED wall lights should now provide enhanced lighting and add to the beauty of your outdoor space.
Maintenance Tips
Regular Cleaning
Keep the lights clean by wiping them down regularly to remove dirt and debris.
Check for Damage
Periodically check the fixtures and wiring for any signs of wear or damage. Address any issues promptly to maintain safety and functionality.
Replace Bulbs as Needed
LED lights have a long lifespan, but eventually, they may need replacement. Ensure you use compatible bulbs to maintain performance and energy efficiency.
By following these steps, you can successfully install recessed exterior LED wall lights and enjoy the benefits of enhanced outdoor lighting.