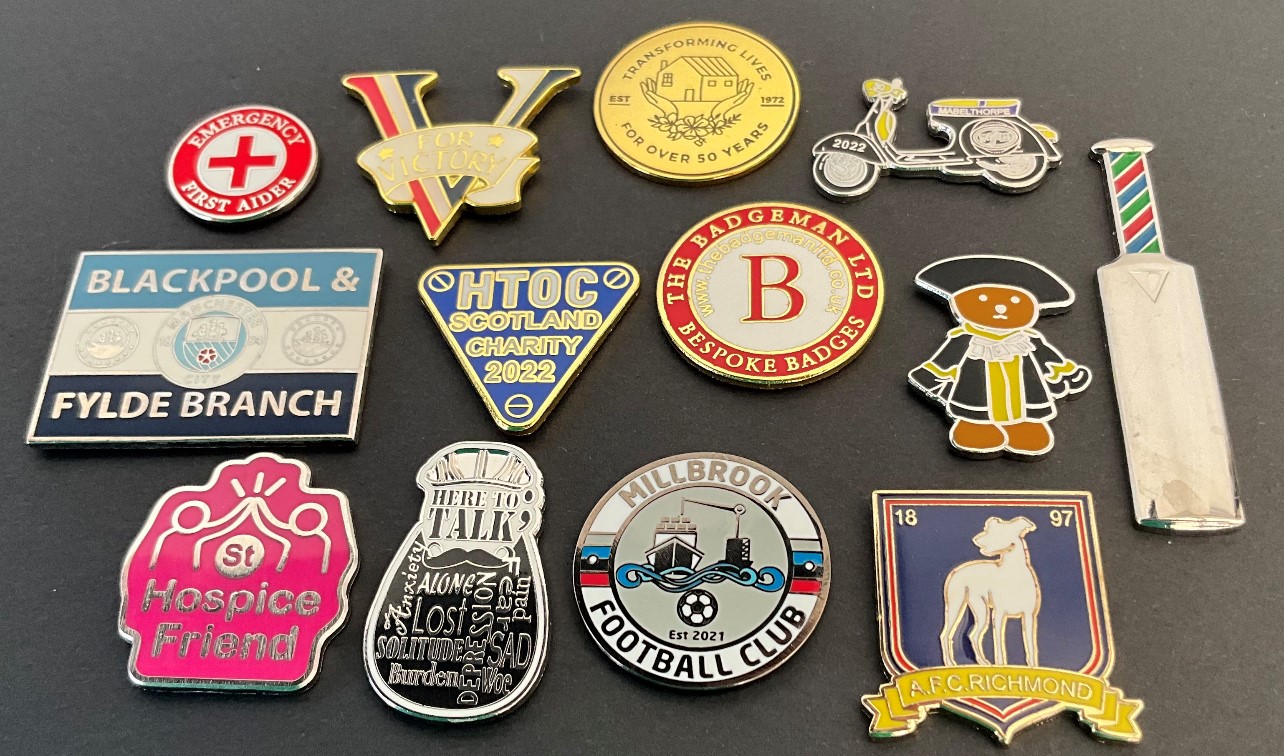
Custom metal badges are widely used for corporate branding, employee recognition, events, and promotional purposes. Their appeal lies in durability, aesthetic quality, and the ability to create unique designs that reflect an organization’s identity. Unlike standard printed or plastic badges, custom metal badges involve a detailed and precise manufacturing process that ensures each piece meets high standards of quality and craftsmanship. Understanding this process can help organizations appreciate the expertise required and make informed decisions when placing bulk or specialized orders.
Organizations often turn to custom metal badges for their long-lasting nature and premium appearance. The manufacturing process for these badges is a combination of artistry and technology, beginning with design conceptualization and ending with finishing touches. Each step is crucial in producing a badge that is visually striking, durable, and suitable for its intended purpose.
Design Concept and Artwork Preparation
The manufacturing process begins with design development. Clients provide logos, symbols, or artwork, which is then refined by the supplier’s design team to ensure it can be accurately reproduced on metal. This step often involves creating a digital mockup, determining the badge’s size, shape, color scheme, and level of detail.
Design preparation also includes selecting the type of metal, plating, and finishes, as well as the method of attachment. This planning phase is essential to avoid errors during production and ensures that the final product aligns with the client’s branding and aesthetic requirements.
Die Creation and Metal Stamping
Once the design is finalized, a die is created. The die is essentially a mold that forms the badge’s shape and design on metal. High-quality dies are crafted to ensure precise detailing, especially for complex or intricate logos. The die is usually made from hardened steel to withstand repeated use during stamping.
The metal stamping process involves pressing the chosen metal—such as brass, copper, zinc alloy, or stainless steel—into the die. This produces the base shape of the badge with raised or recessed details. Stamping allows for sharp details and consistency across large batches, making it a preferred method for producing custom metal badges efficiently.
Cutting and Shaping
After stamping, badges are cut to their exact outline, which can be circular, rectangular, custom-shaped, or die-cut to match intricate designs. Precision cutting ensures uniformity in size and smooth edges, which are essential for aesthetic appeal and wearer comfort. For badges with three-dimensional elements, additional shaping or embossing may be performed to enhance depth and detail.
Plating and Finishing
Plating and finishing are critical steps in giving custom metal badges their professional appearance. Common plating options include gold, silver, nickel, bronze, or chrome, and they can be polished, brushed, or antiqued to achieve the desired effect. The plating process involves coating the badge in a thin layer of metal to enhance both durability and visual appeal.
Finishing also includes surface treatments like polishing, enamel filling, or protective coatings. Enamel can be soft or hard, depending on whether a textured or smooth finish is desired. Soft enamel provides raised outlines with a tactile feel, while hard enamel is polished flat and highly durable. Protective coatings help prevent scratches, tarnishing, and color fading, extending the badge’s lifespan.
Enamel Application and Coloring
For badges requiring colored details, enamel is applied into the recessed areas of the design. This process can involve multiple colors, carefully matched to brand guidelines. After filling, badges are baked or cured to harden the enamel. Hard enamel badges are polished to create a smooth, glossy finish, while soft enamel maintains slightly raised surfaces for a textured look.
Color consistency and precision are vital in this step, especially when reproducing logos or detailed designs. Skilled technicians ensure that each badge accurately reflects the intended colors and design specifications.
Attachment Methods
Once the badge’s body is complete, attachment mechanisms are added. Common options include pin backs, butterfly clutches, magnetic backs, screw posts, or safety pins. The attachment method is selected based on how the badge will be worn and the type of clothing it will be attached to. High-quality attachment ensures that the badge is secure and comfortable for the wearer.
Quality Control and Packaging
Before badges are shipped, they undergo rigorous quality control inspections. This includes checking for accurate plating, enamel coloring, design consistency, and secure attachment. Any defective units are corrected or replaced to maintain high standards.
Finally, badges are packaged carefully to prevent scratches or damage during transit. Individual wrapping, protective foam, or presentation boxes may be used depending on the client’s specifications.
Conclusion
The manufacturing process of custom metal badges combines careful planning, precision engineering, and skilled craftsmanship. From design conceptualization and die creation to stamping, plating, enamel application, and quality control, each step ensures that the final product is durable, visually appealing, and aligned with the client’s branding needs. Understanding this process helps organizations appreciate the level of expertise involved and ensures that their badge orders meet high standards of quality, functionality, and presentation. Custom metal badges remain a preferred choice for their longevity, professional look, and ability to make a lasting impression.