A truck winch is an invaluable tool for off-road enthusiasts, rescue operations and heavy-duty tasks. Whether you’re stuck in mud, need to clear an obstacle or are assisting another vehicle, a winch can save the day.
Installing and using a truck winch properly is important for safety and efficiency. This article provides a step-by-step guide on how to install and use a truck winch.
Choosing the Right Winch
Once you’ve bought your Ford or new Chevrolet for sale and are ready for installation, choose the right winch for your truck. Consider the following factors:
- Weight Capacity: The winch should be able to handle at least 1.5 times the gross weight of your truck. For example, if your truck weighs 5,000 pounds, opt for a winch with a minimum capacity of 7,500 pounds.
- Type of Winch: Electric winches are popular due to their ease of use and power from the vehicle’s battery. Hydraulic winches, powered by the truck’s power steering pump, offer continuous use without overheating.
- Cable Type: Choose between steel cables, known for their durability and synthetic ropes, which are lightweight and easier to handle.
Installation Process
Prepare the Mounting Area
Make sure your truck’s front bumper or mounting area is suitable for a winch installation. If necessary, purchase a compatible mounting plate or winch bumper.
Attach the Mounting Plate
Position the mounting plate according to the manufacturer’s instructions. Use the drill to create necessary holes, if not pre-drilled. Secure the mounting plate using the provided bolts and nuts. Make sure it is firmly in place.
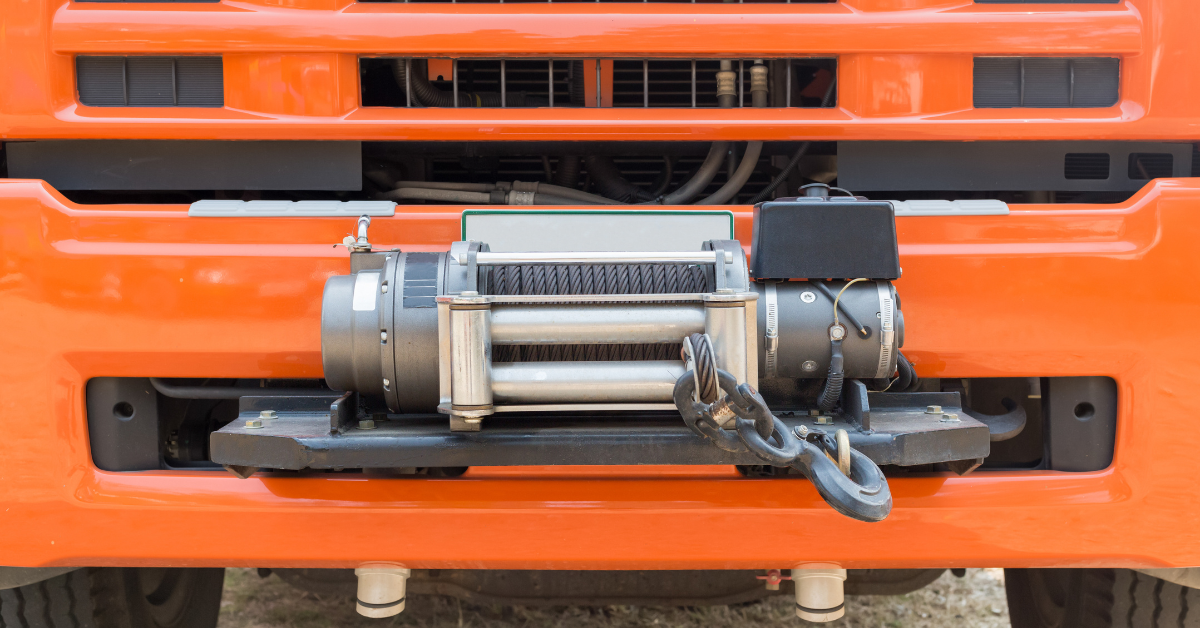
Install the Winch
Place the winch onto the mounting plate. Align the winch holes with the mounting plate holes. Insert the bolts through the winch and plate, securing them tightly with nuts. Use a socket set for a secure fit.
Electrical Connections
Route the power cables from the winch to the truck’s battery. Keep them away from any moving parts or heat sources. Connect the positive cable to the positive terminal of the battery and the negative cable to the negative terminal.
Test the Winch
Once installed, test the winch to ensure it operates correctly. Check for any unusual noises or irregular movements. Verify that the winch spools in and out smoothly.
Also Read: Drive in Style: Tips for Enhancing Your Car’s Appearance
Using a Truck Winch
- Safety First:
- Always wear gloves to protect your hands from sharp edges.
- Keep bystanders at a safe distance.
- Be sure the winch cable or rope is in good condition with no frays or kinks.
- Anchor the Winch:
- Find a secure anchor point, such as a tree or another vehicle.
- Use a tree-saver strap to prevent damaging the anchor.
- Attach the winch hook to the strap using a D-shackle.
- Winching Process:
- Engage the winch’s free spool clutch to pull out the cable.
- Pull the cable to the anchor point and secure it.
- Re-engage the winch clutch.
- Use the remote control or in-cab switch to slowly spool in the cable.
- Guide the cable onto the drum evenly to prevent bunching.
- Monitor the Winch:
- Keep an eye on the cable tension and the winch motor temperature.
- Pause if the winch becomes too hot or if the cable starts to spool unevenly.
- After Use:
- Once the recovery is complete, rewind the cable or rope neatly.
- Inspect the winch, cable and all connections for any damage.
- Store the remote control and any accessories properly.
Prepped and Ready to Go
Installing and using a truck winch can be a game-changer for off-road adventures and heavy-duty tasks. With the right knowledge and equipment, you’ll be prepared to tackle any challenge that comes your way.