Creating a map can be an essential tool for personal and professional use, helping to visualize locations, track data, or share information with others. Whether you’re a business owner looking to showcase store locations, a traveler planning a route, or an event organizer marking key venues, a create map can make navigation more effective and engaging.
Google Maps is one of the most accessible and widely used platforms for map creation. However, for those seeking more advanced customization options, platforms like Mapme provide additional interactive features, such as media integration and data management, making it easier to design engaging maps without requiring coding skills.
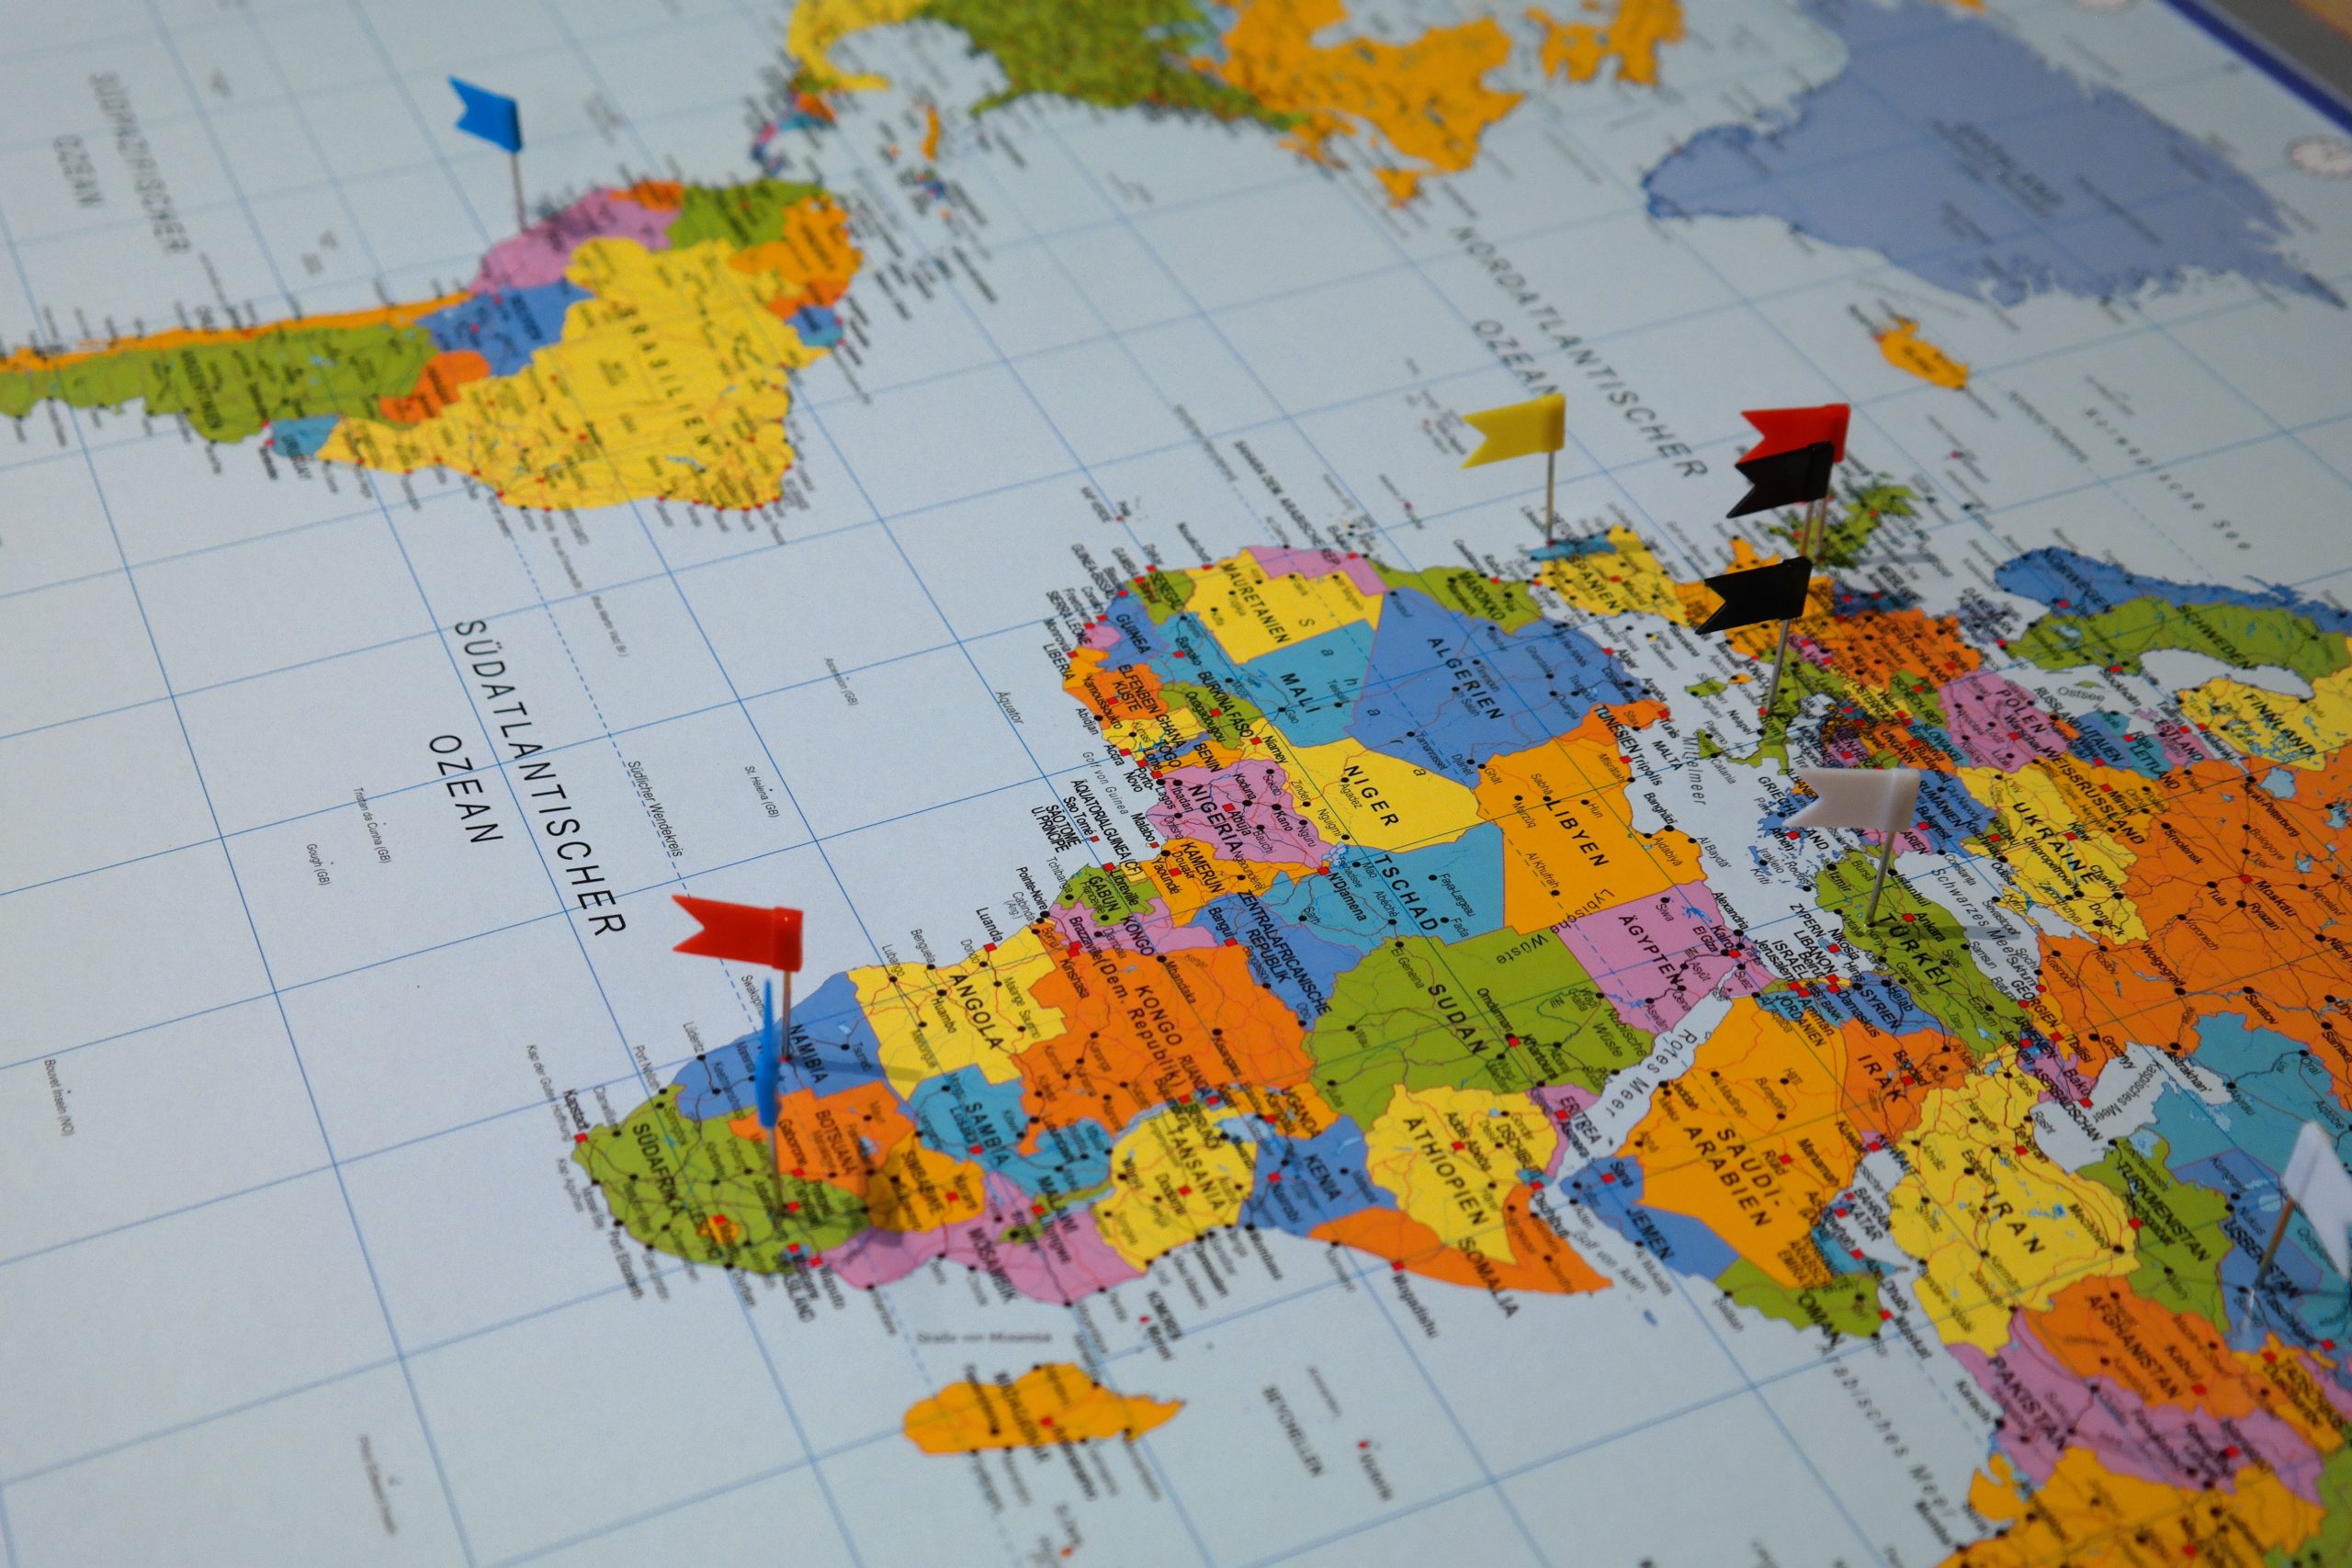
Key Concepts: What is a Custom Map?
A custom map is a personalized map that allows users to mark specific locations, categorize them, and add relevant details. Unlike standard maps that provide only general information, a custom map enables users to highlight points of interest, incorporate multimedia elements, and create visually appealing representations of geographic data.
How to Create a Map Using Google Maps
Google Maps provides a simple yet effective way to create a map with custom markers and details. Follow these steps:
Step 1: Access Google My Maps
- Open Google My Maps.
- Click on “Create a new map.”
Step 2: Add Locations
- Use the search bar to find a location or manually zoom into the area.
- Click the “Add Marker” tool and place it on your desired location.
- Enter details such as name, description, and photos.
Step 3: Customize the Map
- Assign colors and icons to different locations for better visualization.
- Create layers to group locations by category.
- Add lines or shapes to highlight areas of interest.
Step 4: Save and Share
- Click on “Share” and choose your audience (public or private).
- Copy the link or embed the map on your website.
The Benefits of Creating a Custom Map
A custom map provides several advantages:
- Personalization: Tailor the map to your specific needs.
- Improved Navigation: Highlight important locations for easy access.
- Enhanced Data Visualization: Use categories, colors, and icons to organize information.
- Better Engagement: Interactive maps help businesses and organizations communicate information more effectively.
Exploring Mapme for Custom Interactive Maps
While Google Maps is a powerful tool for basic map creation, Mapme offers additional features for those who need more customization and interactivity. With drag-and-drop functionality, media integration, and advanced filtering, Mapme allows users to design engaging, visually appealing maps.
Some of the key features of Mapme include:
- Custom styles and markers for a unique visual appeal.
- Media integration, allowing users to add images, videos, and PDFs.
- Data import via CSV or Google Sheets for easy bulk location input.
- Multi-level categories and advanced filtering to enhance organization.
- Website embedding and social sharing for better reach and accessibility.
Best Practices for Creating a Custom Map
To ensure your custom map is effective, follow these best practices:
- Keep it simple: Avoid overcrowding the map with unnecessary details.
- Use categories and colors: Differentiate locations based on their type or purpose.
- Regularly update information: Ensure the map remains accurate and relevant.
- Enhance user experience: If using a platform like Mapme, leverage multimedia features for better engagement.
Conclusion
Creating a custom map with Google Maps is a straightforward way to visualize locations and share information. However, for users who need more advanced customization and interactive elements, Mapme provides additional tools to enhance the mapping experience. Whether you’re organizing business locations, planning an event, or creating an informative guide, utilizing the right mapping platform can make your project more efficient and engaging.