Installing brick pavers can be a rewarding DIY project that enhances your outdoor space with beautiful and functional surfaces. While the process requires careful planning and execution, with the right tips and tricks, you can achieve professional-looking results. Here’s a comprehensive guide to help you navigate your DIY brick pavers installation.
1. Plan Your Project
Define the Area
Before you start, determine the area where you want to install the brick pavers. Measure the dimensions carefully to understand how many pavers you’ll need.
Design and Layout
Create a layout for your brick paver installation. Consider the pattern you want to use, whether it’s a herringbone, basket weave, or straight lay. Sketching the design can help visualize the final outcome.
2. Gather the Right Tools and Materials
Essential Tools
Make sure you have the necessary tools, including:
- A shovel
- Rake
- Level
- Rubber mallet
- Edge restraints
- Paver compactor or plate compactor
- Joint sand
Choose Quality Materials
Select high-quality brick pavers suitable for your climate and intended use. Check for color, texture, and durability to ensure they meet your design preferences and functional needs.
3. Prepare the Site
Clear the Area
Remove any existing grass, plants, or debris from the installation area. This step ensures a clean base for your pavers.
Excavate the Site
Excavate the area to a depth of about 6-8 inches to allow for a solid base layer, sand, and the pavers themselves. Make sure the area is level and slopes slightly for drainage.
Create a Base
Add a layer of crushed stone or gravel to the excavated area. This base should be about 4-6 inches deep, providing drainage and stability. Use a tamper to compact the base thoroughly.
4. Install Edge Restraints
Secure the Edges
Install edge restraints around the perimeter of the area to keep the pavers in place. These can be made of plastic, metal, or concrete. Secure them firmly to ensure they don’t shift during installation.
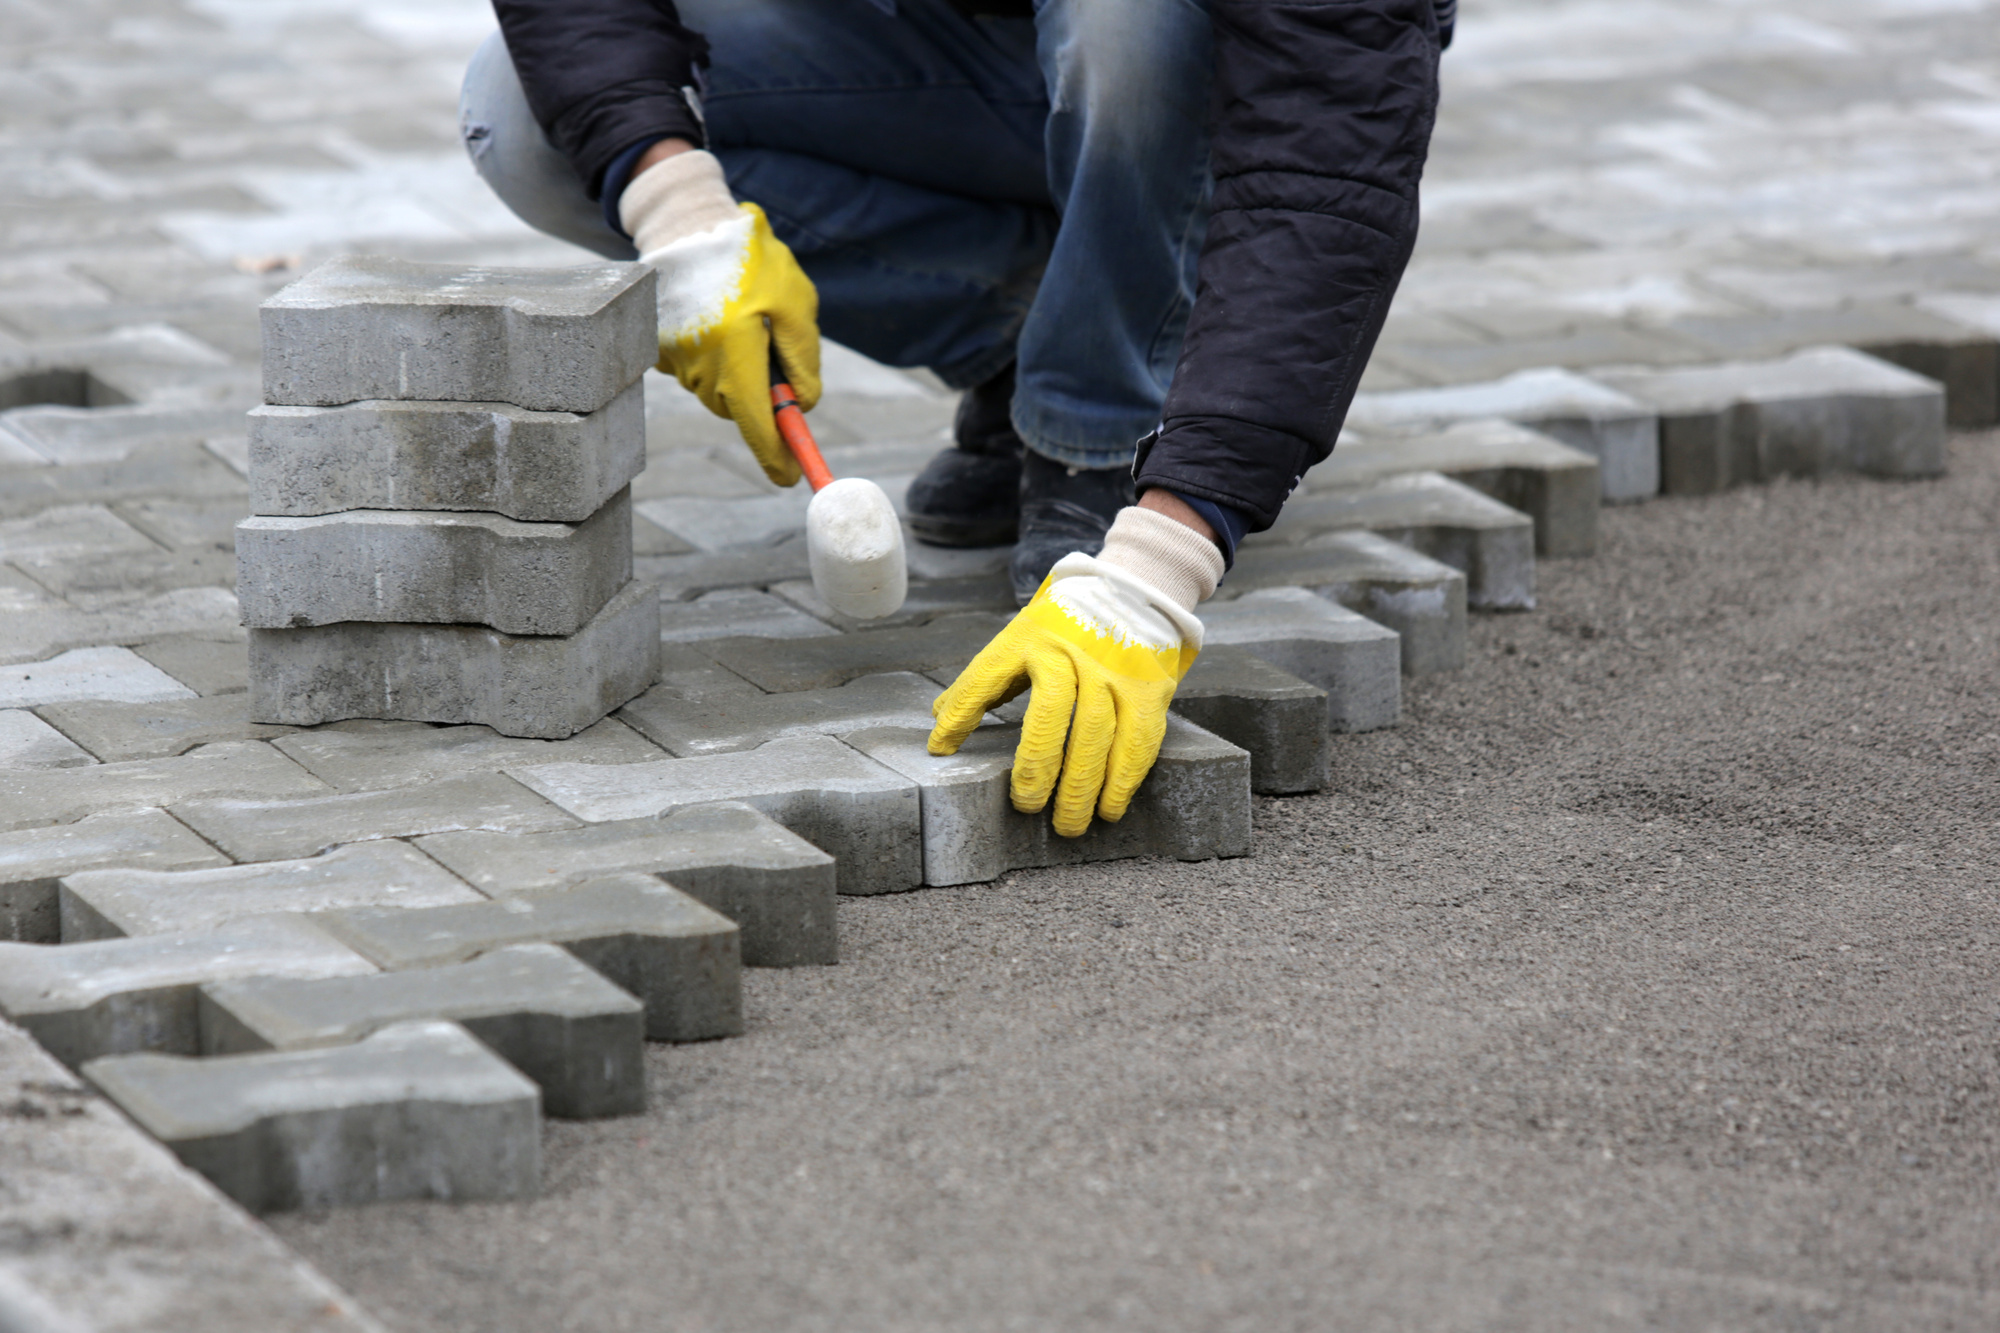
5. Lay the Pavers
Start from a Corner
Begin laying the pavers from a corner or a straight edge, following your planned design. Use a level to ensure each paver is even and aligned properly.
Use a Rubber Mallet
As you lay each paver, gently tap it into place with a rubber mallet to ensure it is level and seated firmly in the sand base.
6. Fill the Joints
Apply Joint Sand
Once all pavers are in place, spread joint sand over the surface. Use a broom to sweep the sand into the joints between the pavers, ensuring they are filled completely.
Compact the Surface
After filling the joints, use a plate compactor to compress the pavers and joint sand, which helps secure the bricks in place.
7. Final Touches
Clean the Surface
Sweep off any excess sand from the surface of the pavers. If necessary, lightly hose down the area to help settle the sand into the joints.
Add a Sealant (Optional)
Consider applying a sealant to protect the pavers from stains and moisture. This can enhance the color and longevity of your installation.
8. Maintain Your Paver Installation
Regular Cleaning
Keep your brick paver area clean by regularly sweeping away debris and dirt. This helps maintain the appearance and prevents the growth of weeds.
Refill Joint Sand
Periodically check the joints for sand and refill as needed. This helps maintain stability and prevents shifting.
Conclusion
With careful planning and execution, DIY brick paver installation can be a fulfilling project that transforms your outdoor space. By following these tips and tricks, you’ll create a durable and attractive surface that enhances the functionality and beauty of your property. Embrace the challenge, and enjoy the satisfaction of completing your brick paver installation!